


Welcome to Smilii's simple guide on enabling maintenance mode for your WordPress website!
At Smilii, we believe in keeping things straightforward and user-friendly, and this extends to managing your website's maintenance needs. Whether you're updating themes, plugins, or making significant changes, enabling maintenance mode is a breeze.
It’s an essential tool for providing a seamless experience to your visitors, even when your site is under the digital hammer and nails. This introduction sets the stage for the easy steps you'll follow, ensuring your site's visitors encounter a professional and informative message, rather than a work-in-progress.
Enabling maintenance through My Smilii
- Login to My Smilii
- You'll be greeted by the friendly My Smilii Dashboard. Scroll down to 'Your Active Products/Services', then click 'Manage' on the WordPress site you'd like to enable maintenance mode on.

OR choose Services from the left sidebar, then click on the service you'd like to manage. - From the Product Details page, scroll down to Manage Account, then choose WordPress Toolkit
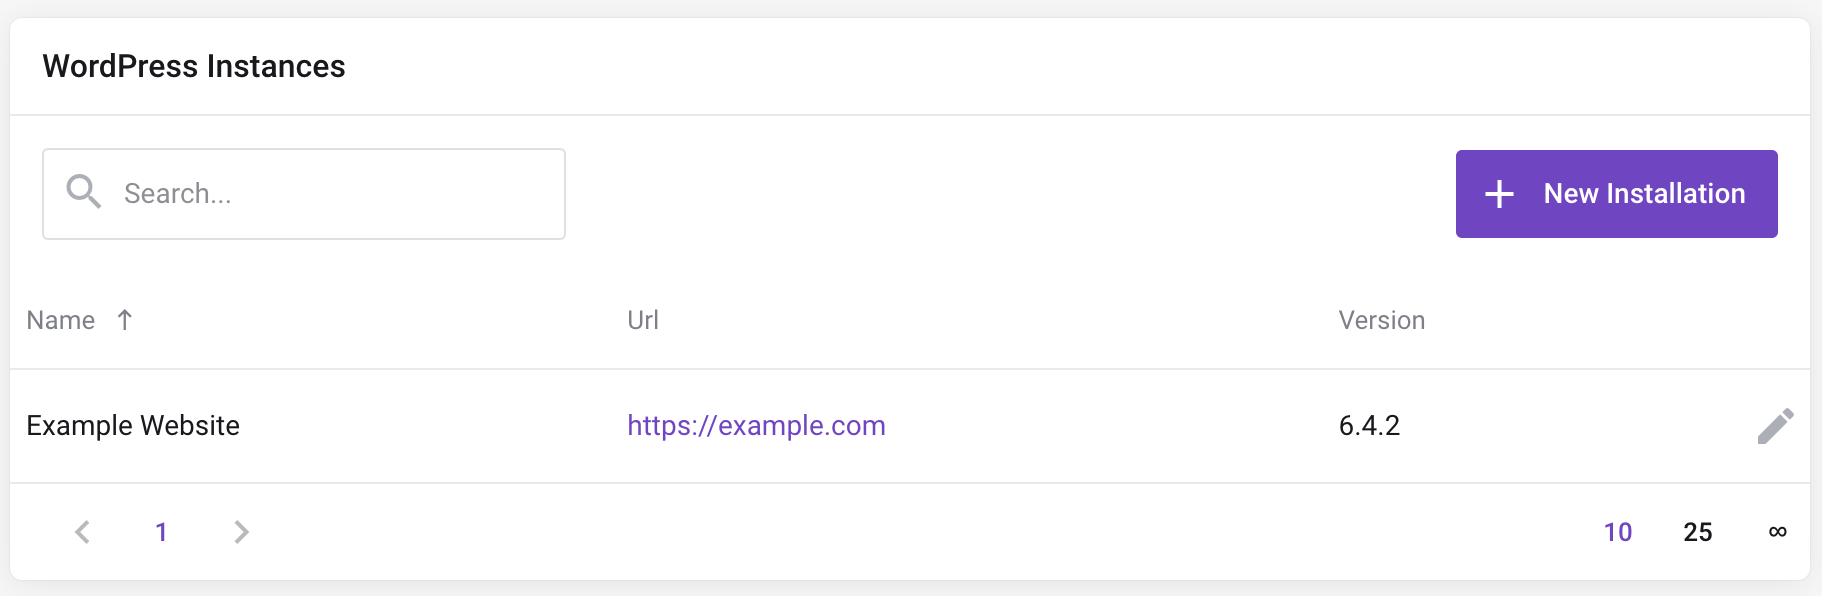
- A list of WordPress Instances belonging to the service will appear, click Edit

- Go to 'Maintenance Mode'
- Enable Maintenance Mode by toggling the switch on the right of the corresponding label

- NOTE: Restricting access to the WordPress Admin Panel will not allow you or anyone to login from /wp-login.php. We do not recommend enabling this unless you know what you're doing.
- The following sections on the page allow you to customize the text on the Maintenance page, including the Browser Page Title (this is the text that appears in the tab on your browser), the first text block (large), and the second text block (information block - small).
- Enable a countdown timer on the page by toggling the 'Countdown Timer' switch in the Timer section. Specify how many days, hours, and minutes, until the website will be ready. If it's less than 1 day, leave the 'Remaining Time (days)' at 0.
- Change the social network links or leave them empty to disable.
- Click 'Save Changes'
 and your WordPress website not be visible to anyone - only the maintenance page will be seen. You can continue viewing & editing your WordPress website if you are logged in, unless you restricted access to the WordPress Admin Panel (view #7).
Enabling maintenance through Plesk
- Follow steps 1-2 above.
- From the Product Details page, scroll down to One Click Login, then choose 'WP Toolkit'
- You'll be automatically logged into your Plesk WP Toolkit panel. From the bottom of your site's modal, toggle 'Maintenance mode'
 to enable maintenance.
 - To customize the Maintenance page, click Settings
- The Maintenance page customizations are the same as #8-10 above, except for the 'Change screen template' customization option. This advanced option gives you the ability to change the code for the page however you'd like. If you don't know how to code, we don't recommend customizing the screen template.
- To begin, click 'Customize' next to 'Change screen template'. This will open a new tab with the Code Editor for 'template.phtml'. Change what you'd like, then click 'Save' in the Code Editor window to save your changes.
- To remove the bottom credit, find and delete this line:
<?php echo $locale['powered']; ?>
- Click 'OK' to save & apply your changes.
Enabling maintenance through WordPress
WordPress doesn't natively support user-activated Maintenance Mode, so thousands of 3rd party integrations (plugins) were created to fill this gap.
The above options in this guide are best because you're not relying on a 3rd party (usually freemium) integration to enable maintenance mode, but maintenance plugins are often more customizable (unless you know how to code, which in that case, follow #5-5.2 under "Enabling maintenance through Plesk").
There are some risks to adding a plugin to your WordPress website, i.e. security risks, relying on author updates, paywalled features, cache problems, and more, but this is still a good option if you research the plugin you decide to use and accept the risks.
Keep in mind, we do not offer support for 3rd party software or plugins. Why? There are 59,573 plugins in the WordPress repository and tens of thousand more that can be purchased (with more added every day), all developed by separate authors. It's impossible for us to support all of that.
- Login to your WordPress website. This can be done from yourwebsite.com/wp-login.php usually. You don't have to remember your username/password by following steps #1-2 under "Enabling maintenance through Plesk" and clicking the 'Log in'
 button above 'Manage domain' - this will automatically sign you into your WordPress admin.
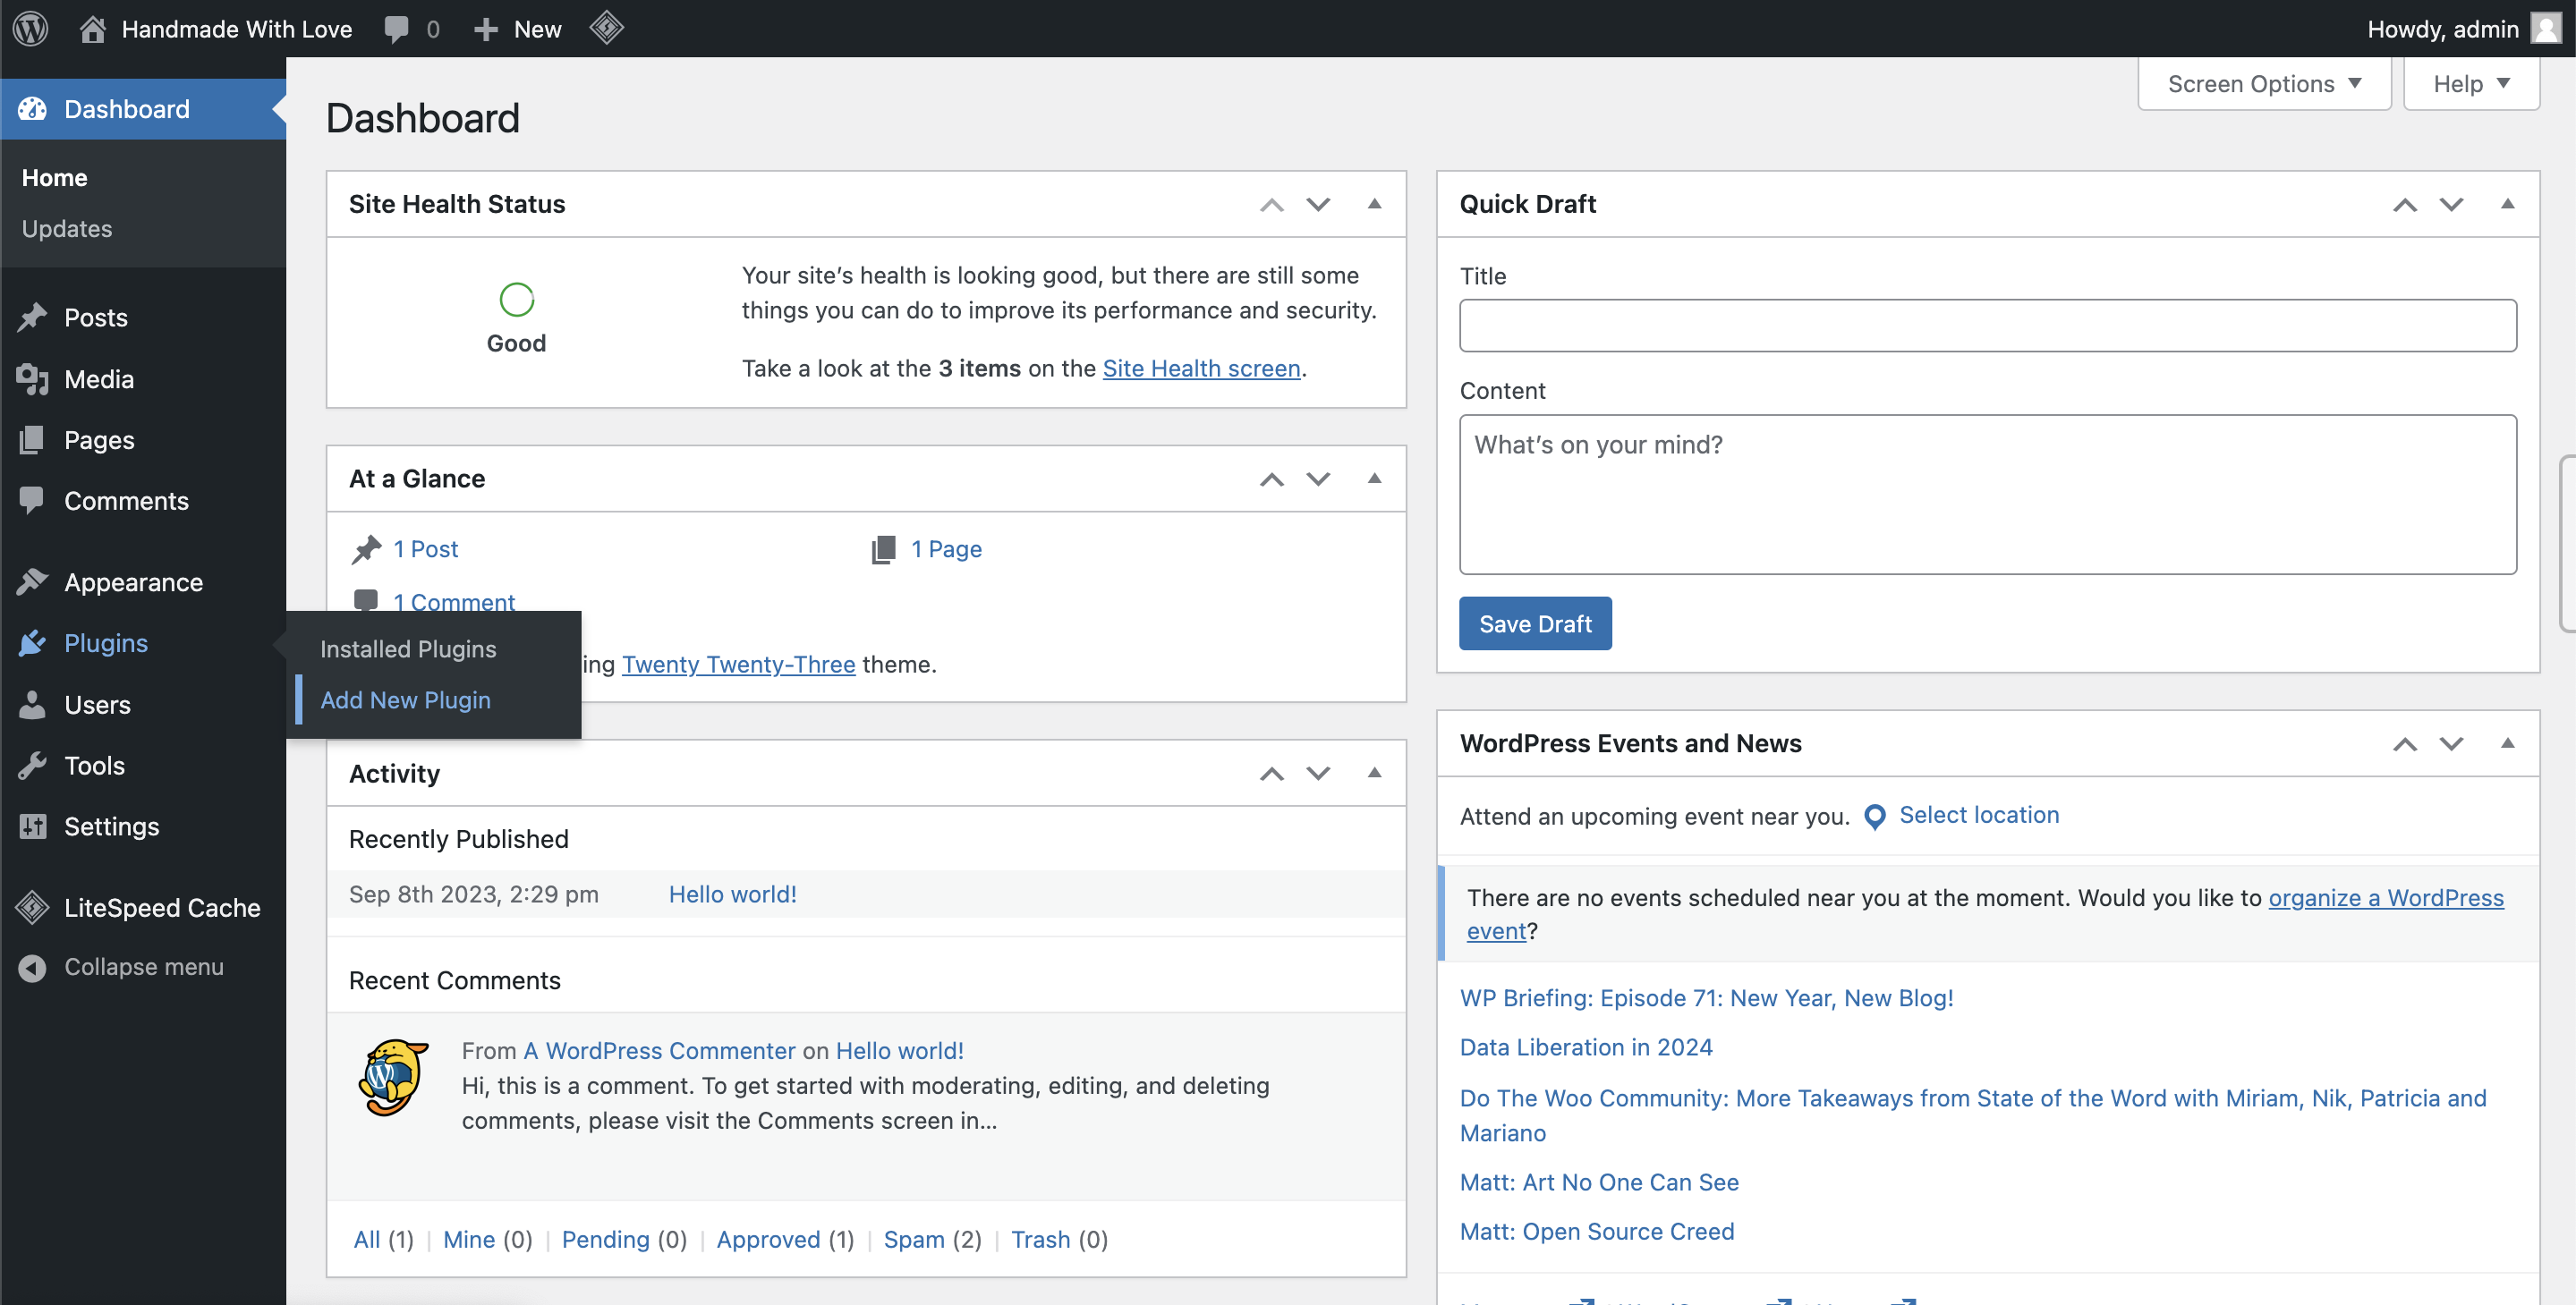
 - From within the WordPress admin (yourwebsite.com/wp-admin.php), hover over 'Plugins' on the left sidebar, then choose 'Add New Plugin'
- From the Add Plugins page (yourwebsite.com/wp-admin/plugin-install.php), search plugins

- Type "maintenance" into the search field.
- You'll find thousands of plugins. Do your research on the plugins by clicking 'More Details' on any plugin
- Click 'Install Now'
 on the plugin you chose, then 'Activate'
  , once complete.
 - The rest is up to the plugin developer on how to manage, customize, and use their plugin.
And there you have it!
Enabling maintenance mode in WordPress is a simple yet powerful way to maintain your site's professionalism and user experience during updates or changes.
At Smilii, we're all about making web management as easy and pleasant as possible.
Remember, maintenance mode isn't just about hiding the ongoing work; it's a commitment to your visitors' experience, a promise of exciting things to come.
Should you have any questions or need assistance, the Smilii support team is always here to help you with a friendly smile. Happy updating!
